Tel:
+86 13143444311
Email:sst@szsst88.com
Fax:+0086-755-27322278
Address:Building 9, First Industrial Zone, Tantou Industrial City, Songgang Street, Baoan District, Shenzhen 518105, Guangdong, China
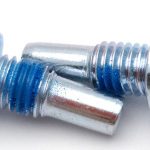
Type:Camera Convert Adaptor Screw
Materials:Carbon Steel
Surface treatment:Green Zinc Plated
Head Type:Knurled collar
Drive:Hand tightened knurl
Thread:Inch-series thread at each end
Point:Plain, chamfered
Forming:CNC turning from bar; both ends threaded
Size:M1 M2 M3 M4 M5 M6 M7 M8 M9 M10 M12
We turn camera adaptor screws in carbon steel with a thread at each end and a knurled collar between them, green zinc plated and quoted with both thread lengths to the drawing. Each end has to reach its face without bottoming, so the two thread lengths and the collar thickness decide whether a camera sits square on its plate.
Watch the factory video·Email sst@szsst88.com
ISO 9001:2015 · Manufacturing since 1998 · 8,678+ customers · 89 countries and regions
Made to order – there is no stock catalogue. Each part is produced to your drawing, and production starts after drawing review and first-article approval.
A camera adaptor screw is a short stud threaded at both ends, used to convert one photographic thread to another. This part is carbon steel, green zinc plated, with a knurled collar at the middle, imperial threads at both ends, and is quoted with the thread, the lengths and the collar made to the drawing.
Two threads. A different size at each end, so a camera mount can be adapted to a different plate or head.
Knurled collar. A raised ring at the middle that seats on both faces and gives the fingers something to turn.
Imperial thread. Camera and tripod hardware uses inch-series threads, so the part is specified in inches.
Green zinc. A thin plated finish used to mark this range, applied without closing the threads.
They are used between a camera body and a tripod head, a quick release plate and a lens ring, or any two pieces of photographic and optical hardware that were made to different thread standards.
The adapter is a bridge, and a bridge has two ends that both have to land properly. One end screws into the camera body, the other into the plate or head, and each end has to engage enough turns to carry the load without running out of thread and jamming against the bottom of its socket. Those are two different limits, and the part has to satisfy both at once.
That is why the thread lengths are stated separately rather than as an overall length. If the camera-side thread is too long, it bottoms in the camera socket before the collar touches the body, and the camera is held by the thread end rather than by the face — which is exactly how a mount gets cracked. If it is too short, only a couple of turns engage, and the adapter wobbles or strips under the weight of the lens.
The knurled collar is the reference face. It sits between the two pieces, so its thickness sets how far the part can go into each socket, and its faces are what the camera and the plate bear on. A collar that is not flat loads the joint on one edge, and on a camera mount that shows up as rocking rather than as looseness.
The knurl has a second job: it is the only place to grip. These studs are tightened by hand, so the diameter and the depth of the knurl decide how much torque a person can apply without a tool. That torque is small, which is why the part relies on the faces meeting rather than on being pulled tight.
The material matters here because the threads are small and the loads are repeated. A carbon steel stud in a plated finish is strong enough for the small threads of a camera mount, and the zinc keeps it from rusting in a kit bag; the green tint is a marking choice for the range rather than a functional one.
None of this is visible on an assembled camera. The adapter either seats on both faces and holds, or it stands off by a fraction and never quite does, and the difference is in two thread lengths that nobody looks at until something moves.
Camera adaptor screws are quoted by the thread at each end, the length of each thread, the collar diameter and thickness, the knurl and the finish. Custom lengths up to 2,000 mm, subject to DFM review after drawing submission. The quotation carries the material, the threads, the lengths, the collar and the plating.
| Item | How it is defined | What we control |
|---|---|---|
| Thread A | Camera-side thread | Size, pitch and length |
| Thread B | Head-side thread | Size, pitch and length |
| Collar | Diameter and thickness | Flatness and seat |
| Knurl | Diameter and pattern | Depth and grip |
| Body | Carbon steel | Grade and strength |
| Finish | Green zinc | Thickness and coverage |
The two thread lengths are written as separate dimensions with a tolerance each, because they set the two engagement depths. Writing one overall length and letting the shop divide it is how a part ends up bottoming on one side.
The collar is dimensioned on both faces. It is the seat, so its thickness and flatness decide whether the camera and the plate meet it at the same time; a collar that is thicker on one side is a rocking adapter.
The thread standard is written in inches, with the pitch, because camera and tripod hardware uses two inch-series threads that look similar but are not interchangeable. A drawing that says only the diameter invites the wrong pitch.
Four properties decide this part, and each carries a cost:
| Property | What it gives | What it costs |
|---|---|---|
| Two threads | One part converts two standards | Two engagement limits to satisfy |
| Knurled collar | A seat and a grip in one feature | Its thickness sets both depths |
| Carbon steel body | Strength in small threads | Needs a coating to stay clean |
| Green zinc | A marked finish at low cost | Thin, and it wears at the knurl |
The value is a single small part that lets a camera, a plate and a head from three different makers work together, with no tools and no compromise in seating.
The cost is that the part has two chances to be wrong. Either end can be too long or too short, and both errors show up as a camera that is loose or a mount that has been cracked.
The recorded finish is green zinc: a thin electroplated layer with a coloured passivation. It marks this range in the kit and protects the steel, and because the film is thin the threads and the knurl keep the dimensions they were cut to.
| Option | How it protects | Effect on the thread | Typical use |
|---|---|---|---|
| Green zinc | Sacrificial zinc with dye | Thin; engagement unchanged | Marked range in a kit |
| Black zinc | Sacrificial zinc plus dye | Thin; discreet | Matching black hardware |
| Black oxide | Conversion layer | Nearest to zero build | Dry indoor kit |
| Nickel | Hard barrier layer | Builds; threads re-gauged | Wear at the knurl |
| Stainless body | No coating needed | No build; stronger threads | Marine and outdoor shooting |
On the adapter the finish has to stay out of the threads. Both ends mate with a camera or a plate made to a standard, and a coating that builds in the thread changes the engagement the drawing was written around.
Where the kit is used outdoors, stainless is the better body. The zinc finishes are thin enough to wear off the knurl in handling, and on a part that is turned by hand every day that is where the rust starts.
Three jobs where two threads have to meet:
| Where it sits | The adapter joins a camera body with one mount thread to a head or plate with another. |
| When it goes wrong | The camera rocks, or the mount cracks at the socket edge. |
| Why it happens | One thread is too long and bottoms before the collar seats. |
| What we control | Both thread lengths agreed; first article fitted to a real body and plate. |
| Where it sits | The adapter takes a plate made for one standard onto a rig built for another. |
| When it goes wrong | The plate rotates under the camera, or the adapter stands off by a fraction. |
| Why it happens | The collar is not flat on both faces, and the threads are unequal. |
| What we control | Collar flatness and both thread lengths checked; first article fitted to the plate and the cage. |
| Where it sits | The adapter mounts a camera or a sensor onto a stand or a stage with a different thread. |
| When it goes wrong | The assembly is not square, or the joint creeps over time. |
| Why it happens | The collar face is not perpendicular to the thread axis. |
| What we control | Squareness and collar faces checked; sample mounted and inspected. |
Four points that decide whether an adapter seats on both faces:
|
Each thread length written separately
The drawing states the length at each end, because the two engagement depths are set independently and both have limits. Basis: Two lengths, both measured. |
Threads cut between centres
Both threads are cut on the same axis, so the adapter is a straight stud rather than two threads that happen to meet. Basis: One axis, two threads. |
|
Fitted to a real body
The first article is threaded into a camera body and a plate, and the collar is checked for contact on both faces. Basis: Seat proved on hardware. |
Same threads every lot
Thread sizes, lengths and plating are recorded with the drawing revision, so a repeat lot engages the same. Basis: Same engagement across lots. |
A camera adapter is cheap and hard to inspect, because the features that matter are the two ends of a short part. These four points are what makes the difference visible before a camera is mounted.
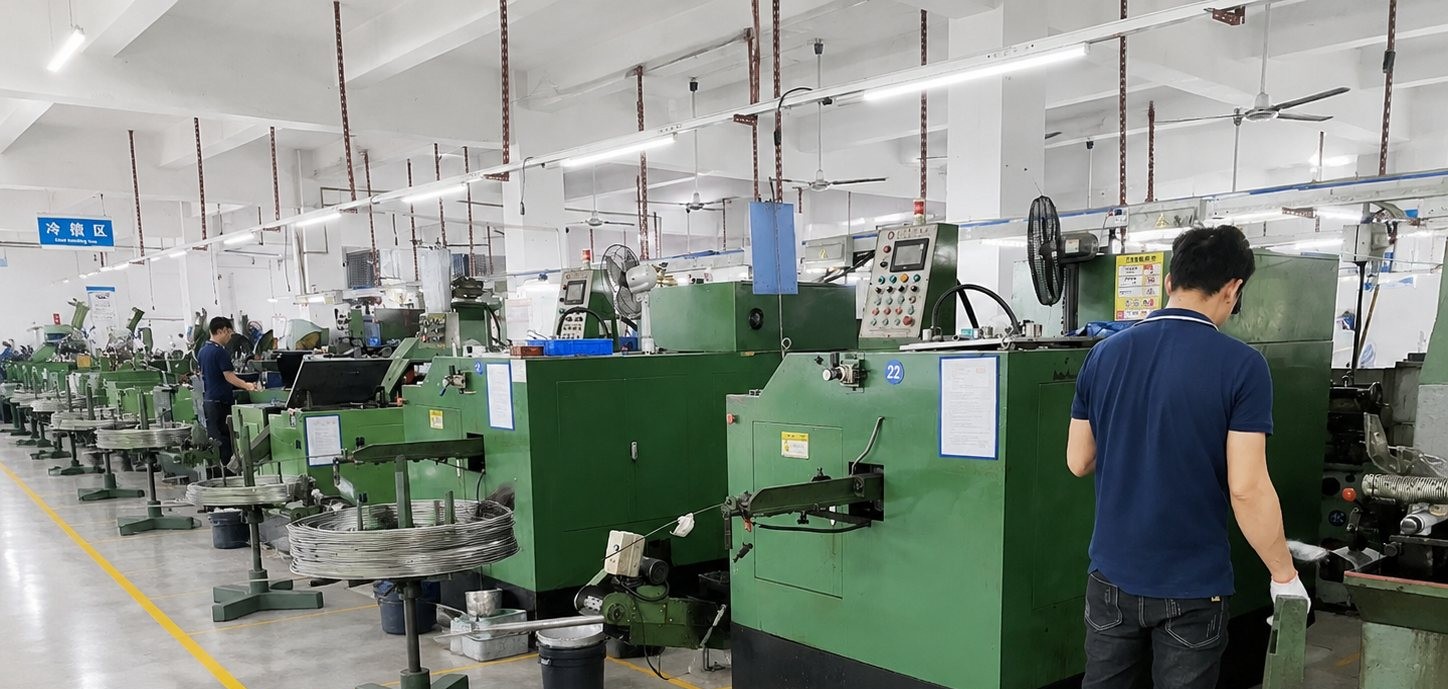
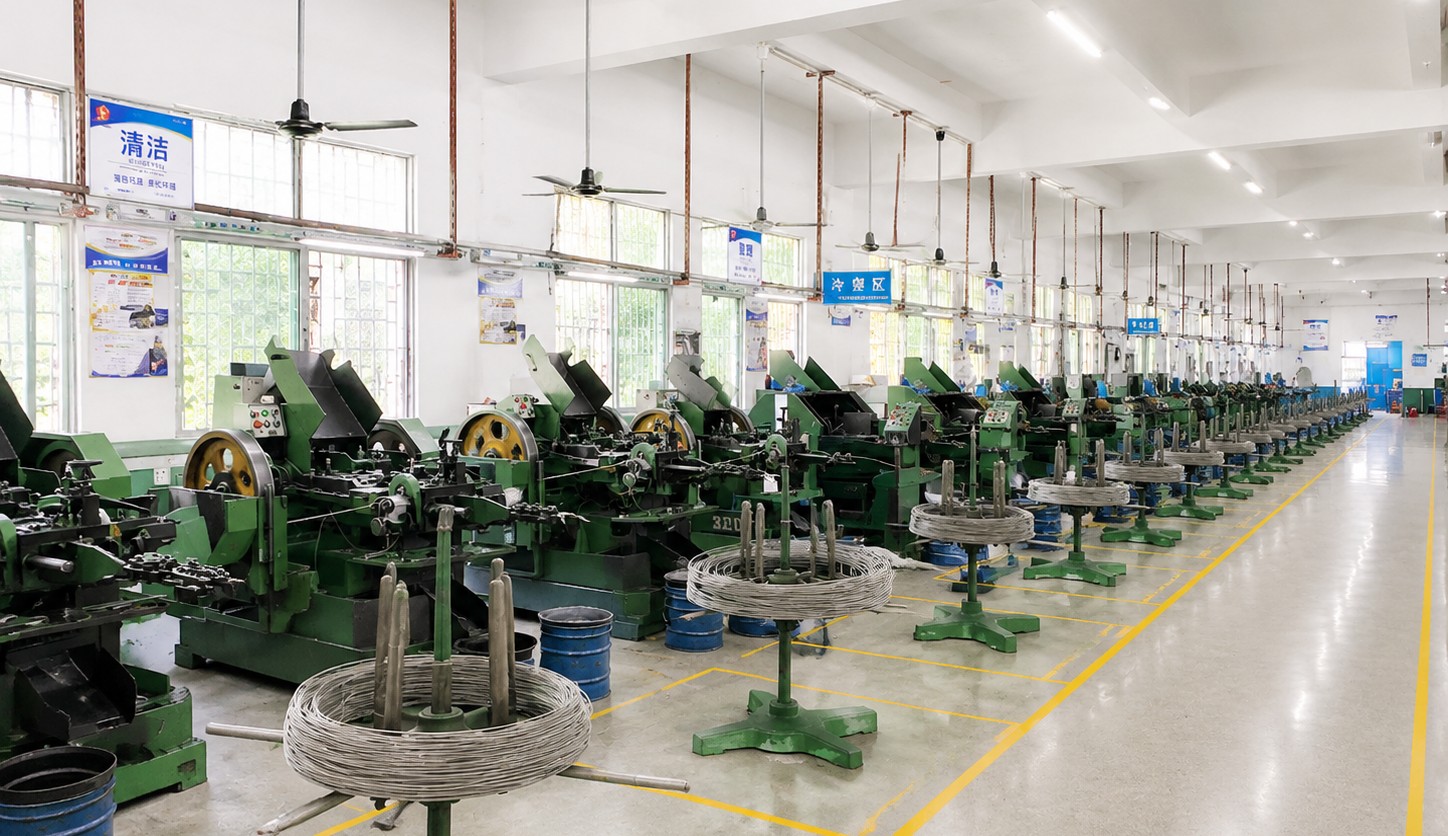
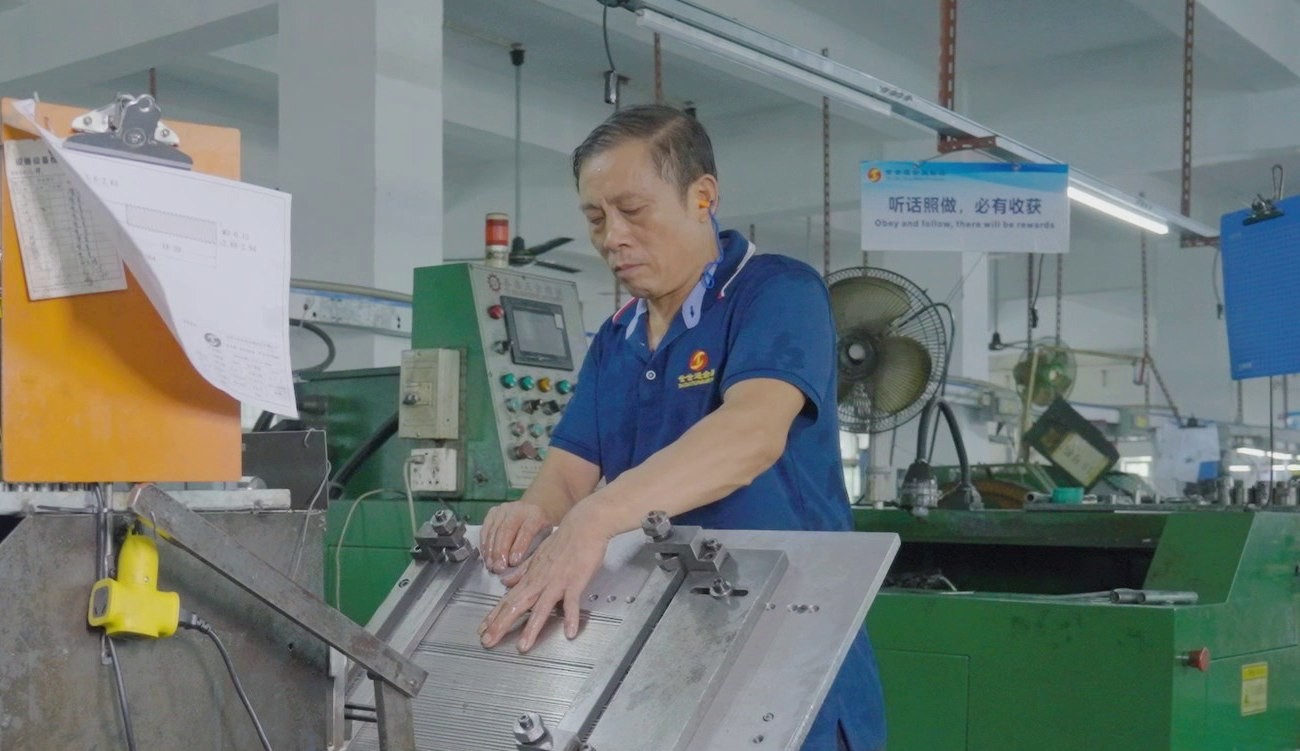
Camera adaptor screws are turned from carbon steel bar: the knurled collar is cut or rolled, both ends are threaded, and the part is zinc plated in green. The first piece of every run is measured on both thread lengths, the collar thickness and the knurl, and threaded into a gauge for each end.
|
|
The collar is the feature that sets the part up. It is turned square to the axis and faced on both sides, because it is the face the camera and the plate bear on; a collar faced on one side only will seat on that side and stand off on the other.
Both threads are cut in the same setup where the size allows, so the two ends are on one axis. An adapter with two threads slightly out of line does not bind on either piece alone, but it will not let both seat at the same time.
The knurl is cut before plating and checked for depth, since it is the only gripping feature. Because the part is tightened by hand, the knurl is finished with enough relief to be turned with dry fingers and with gloves.
What decides whether a batch of camera adaptor screws passes is the thread length at each end, the collar that seats and the threads themselves. The inspection agreement covers all three.
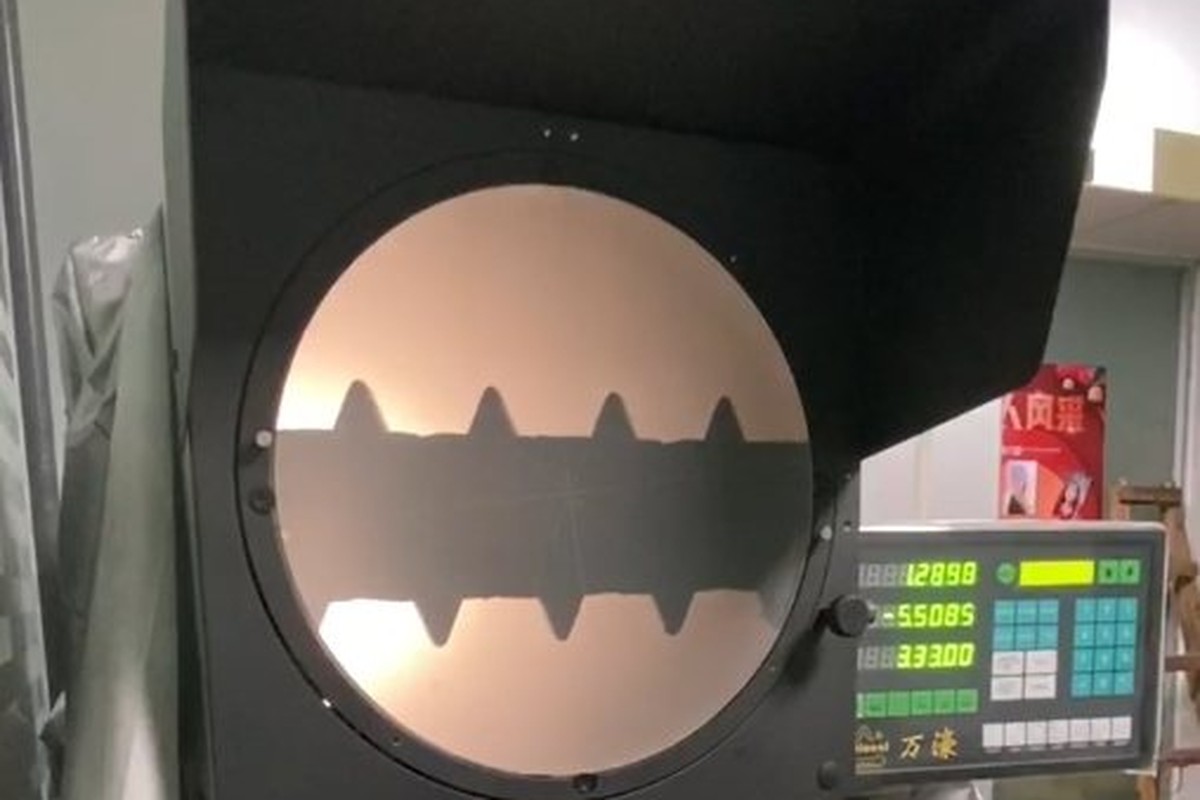
Thread lengths and collar on the projector |
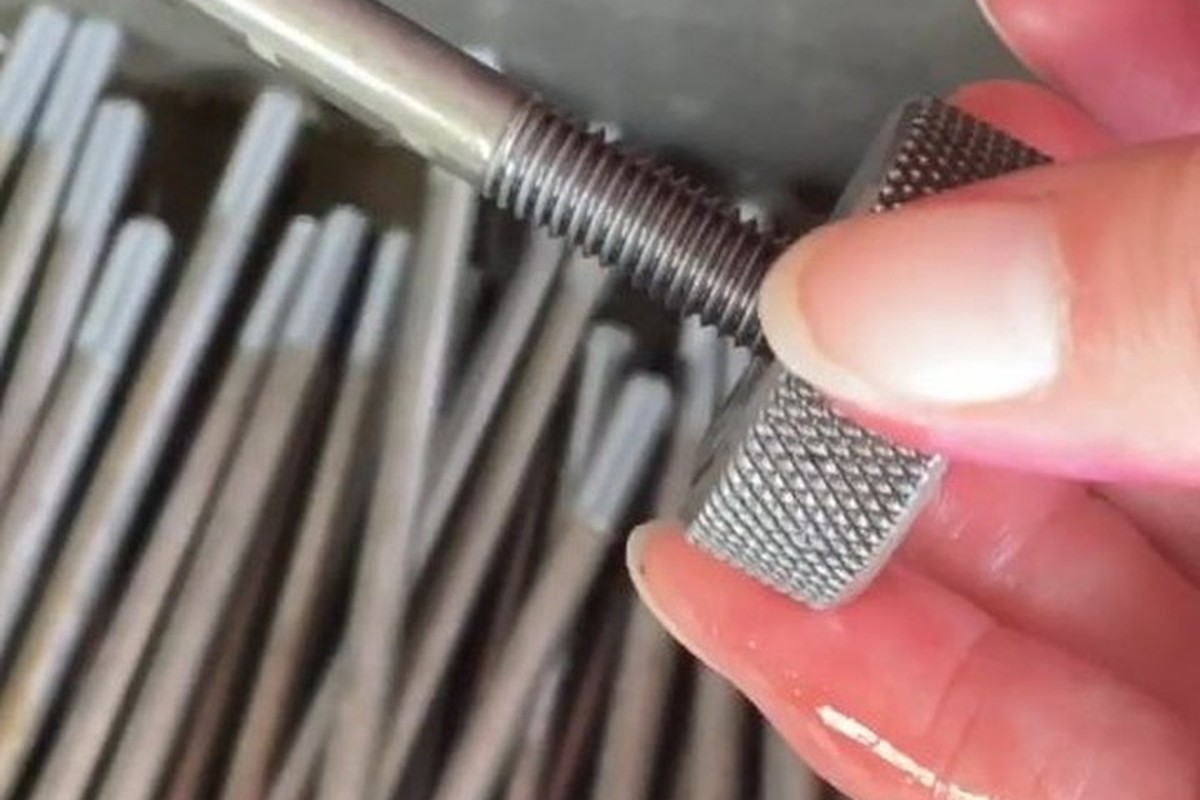
Both threads gauged |
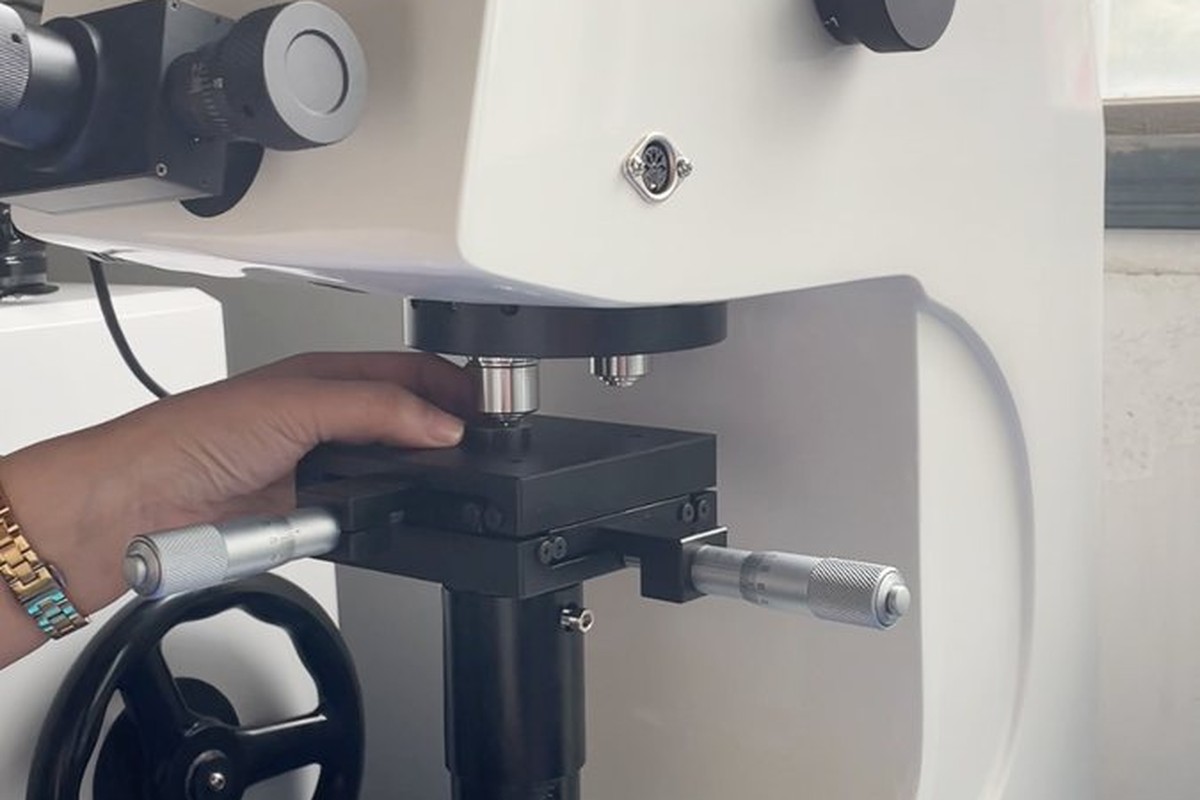
Material checked |
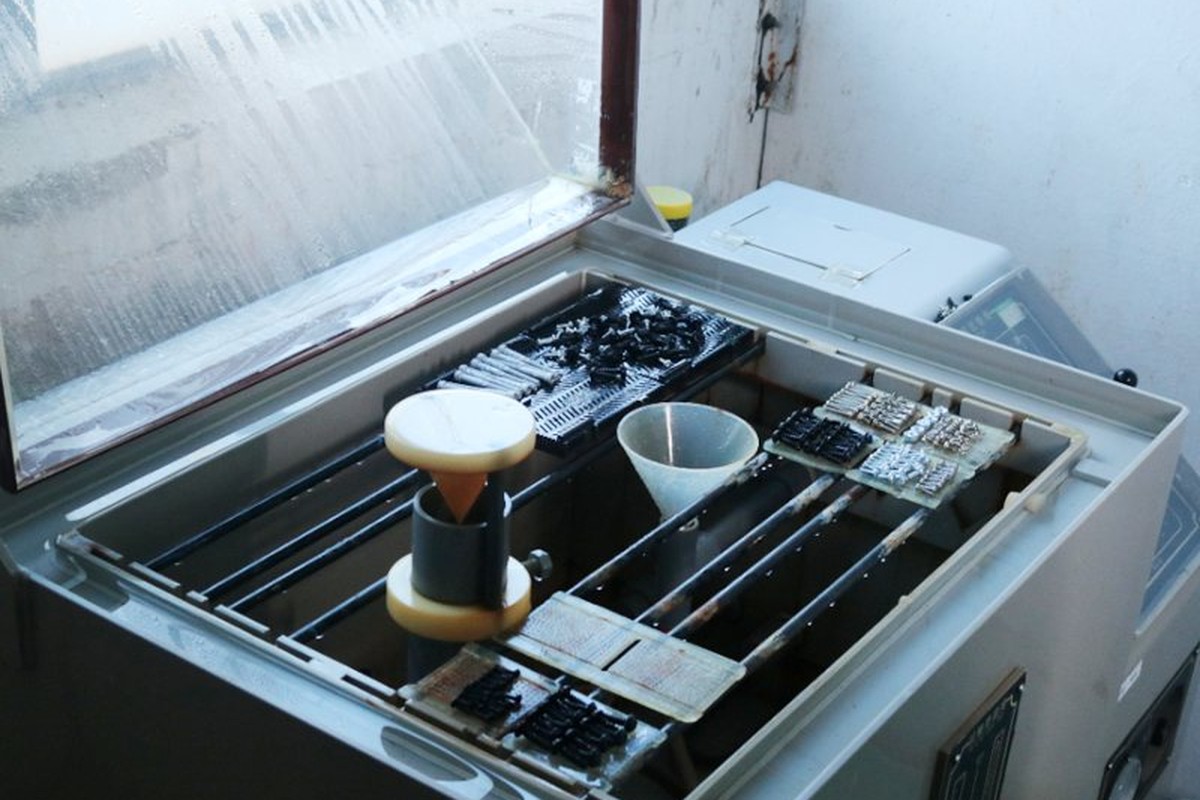
Salt-spray testing of the coating |
Each thread is gauged with the inch-series gauge for its size and run onto a mating nut or socket. Both ends are checked every time, because the two threads and their lengths are the whole specification of the part.
The collar is measured for thickness and checked for flatness on both faces and for squareness to the thread axis. A collar that is square on one face only will hold the camera at a small angle that shows up in a long lens.
The assembly test is simple and decisive: thread the adapter into a plate, seat it on the collar, then screw a body or a gauge block onto the other end and check that it also reaches the collar. Both ends meeting their faces is the acceptance.
Every batch of camera adaptor screws is traceable to the bar and the plating lot. The material certificate states the grade, the heat number and the mechanical properties; the plating record carries the coating thickness and the lot, and the inspection record carries both thread lengths and the collar.

ISO 9001:2015 |
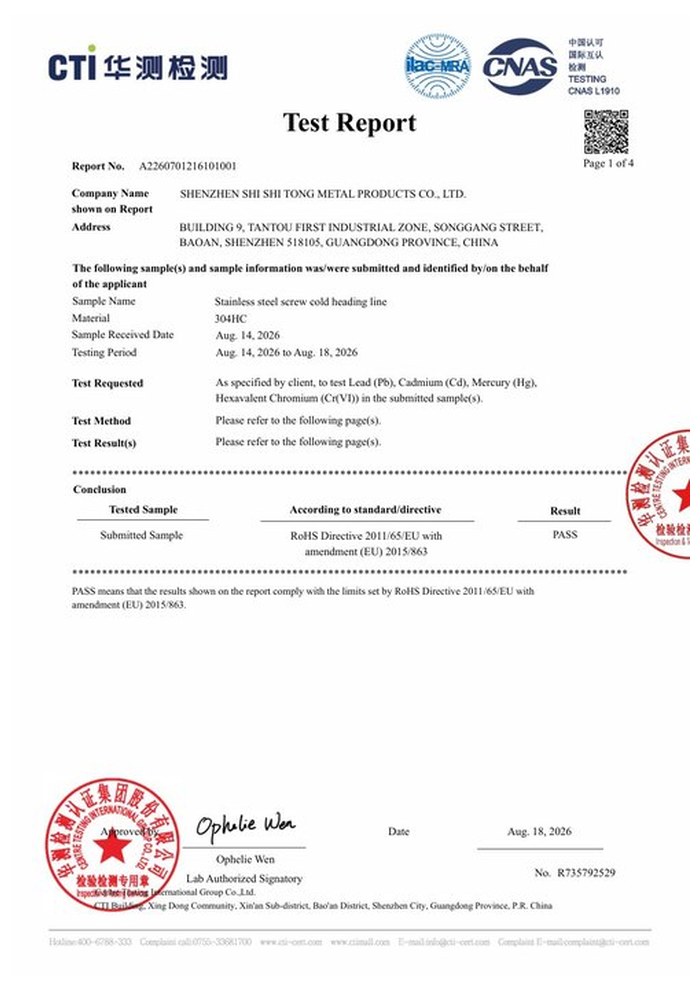
RoHS test report |
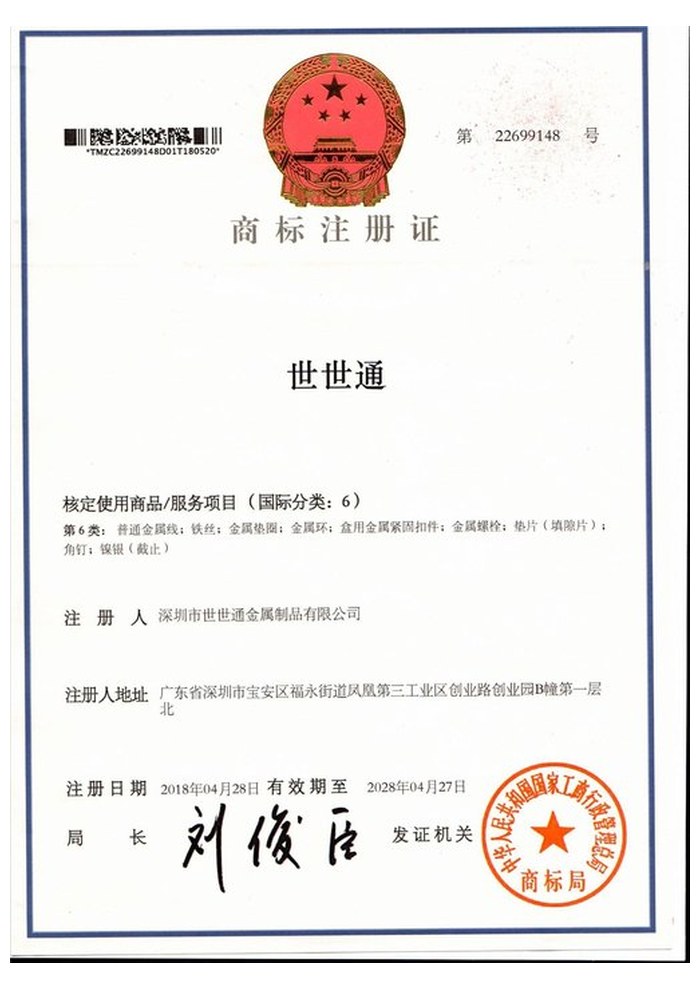
Registered trademark |
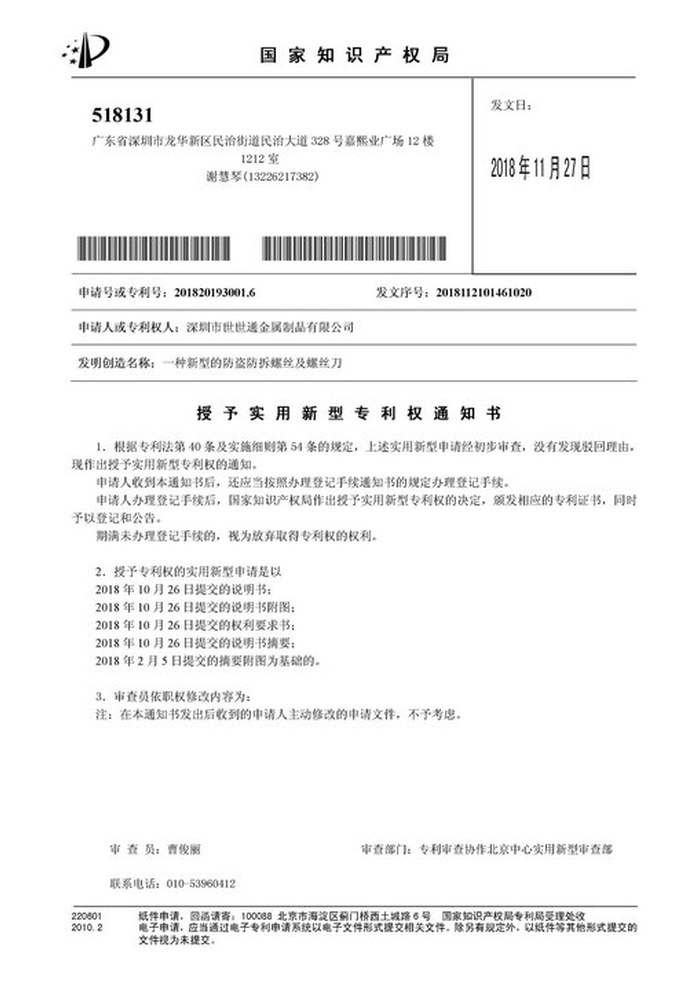
Patent: security screw and driver |
With each shipment we supply the material certificate, the inspection record for both threads, the lengths and the collar, and the plating record. The records carry the batch number, so a repeat order can be compared with the first on the two dimensions that decide whether the adapter seats.
More than 8,678 customers in 89 countries and regions have ordered from Shi Shi Tong; 87% of orders come from repeat customers and 56% through referrals. Most projects follow the same route: drawing review, first-article approval, then batches checked against that sample. On a camera adaptor screw the first article is threaded into a real body and plate, because the seat is a relationship between three parts rather than a property of the screw. Buyers visit during the process to review samples.
|
8,678+
customers served
|
87%
of orders from repeat customers
|
56%
of orders through referrals
|
89
countries and regions shipped to
|
Buyers and quality engineers visit for sample review, process discussion and supplier audits; the visit is arranged around production so the turning cells and the plating line can be seen on the day the parts run.

Customer group visit – sample review |

Customer group visit – process discussion |

Customer group visit – factory tour |

Customer visit – project kick-off |

Danish customer – drawing review |
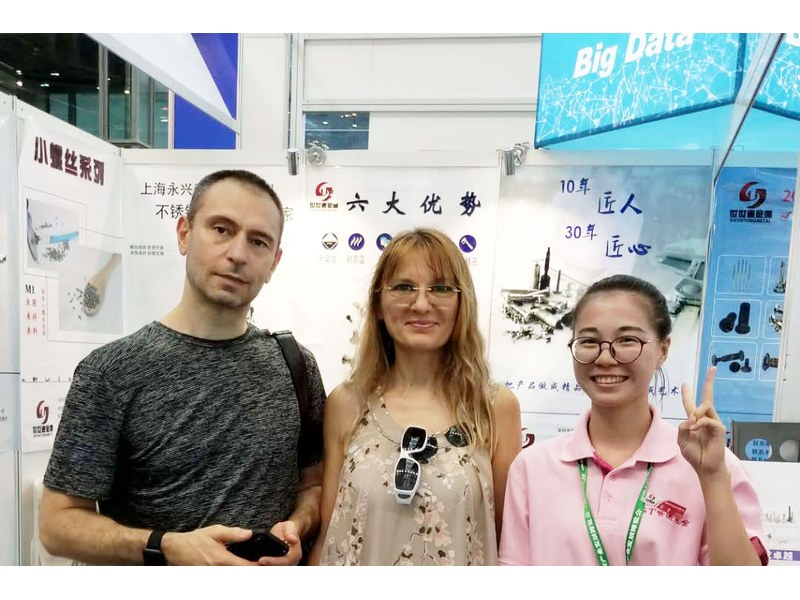
Industry exhibition – meeting customers |
One thread is bottoming before the collar seats. The adapter has to reach its face on both ends, not just one.
Only if both thread lengths still suit the two sockets. A longer thread on one side bottoms in that socket.
The two ends have different threads and different lengths. Swapping them changes the engagement at both ends.
It is the seat and the grip. The faces set how deep each end goes, and the knurl is how the part is turned by hand.
A thin zinc does not. A heavier coating builds in the thread and changes the engagement, so the thread is gauged after plating.
Both thread sizes and pitches, both thread lengths, the collar diameter and thickness, the knurl and the finish.
How a camera adaptor screw project runs from drawing to repeat delivery:
|
1
Send the drawing and the two mating parts
|
→ |
2
Both threads and lengths agreed
|
→ |
3
First article seated on both faces
|
→ |
4
Batch production and repeat orders
|
Each step is confirmed with you before the next one starts; the drawing revision used for the first article is what repeat orders are checked against.
For a quotation, send the drawing with both thread sizes and pitches, both thread lengths, the collar diameter and thickness, the knurl and the finish.
|
Thread A
|
Thread B
|
Length A
|
|
Length B
|
Collar
|
Finish
|
Sending a drawing? The form below does not take attachments. Email the PDF, DXF or STEP file to sst@szsst88.com with the part name and quantity in the subject line – the drawing is reviewed and a quotation follows.

 +86 13143444311
 sst@szsst88.com